Throw-Away Roses
Views: 5757

In the depths of January, I find myself hungry for some beautiful color, so every trip to the grocery store begins in the Florist Department. Here, one can find beautiful blooming orchids, cyclamen, tulips, fragrant hyacinths, lilies, and many different tropical plants. In the buckets all over the floor and in the table displays are every kind of cut flower imaginable in every color in the spectrum. And, especially during the winter, I gravitate to the mini roses that are all over the displays.
Mini Roses
These mini roses have been propagated in Canada, and they never arrive with a cultivar name, but they are lovely, nonetheless. Their job is to bring a splash of color to your sunny windowsill on growing plants rather than cut stems. Most people bring them home, leave them in the plastic decorative sleeve they arrive in, and throw them away after a month or so because they get mildew, or their roots rot because of too much water, and all the leaves fall off and the blooms dry up. In the industry, this is their purpose. They are inexpensive, they are grown from cuttings in hot houses so they grow and bloom quickly, and if you throw the rose away, you can go and get another one to carry you through the winter.
Rose Care
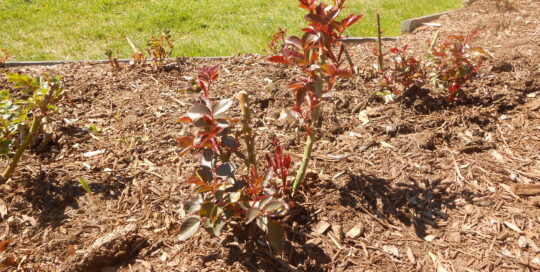
The poor little things! I have been bringing them home for years, and I’m going to teach you about these lovely little gems so that you can bring them through inside and then plant them in your garden for years of bloom. That’s right! They are very winter hardy if planted properly. The first thing you will want to do when you bring your little rose home is to take it out of the plastic wrapping. This will improve air circulation around your plant and help to keep fungus disease at bay…at least for a little while.
Put your rose in a cache pot or on a saucer in the sunniest window you have. Water it in the morning, dump out any extra water in the saucer after ten minutes or so, and let it dry out a little before you water it again. Use your finger as a water meter: if the soil feels damp, wait another day before you water it. As the blooms fade, take a little pair of pruners or shears and trim them off down to an outward facing stem bud.
Life after Blooms
Sooner or later, the plant will start to re-grow after the first flush of blooms stop. Now it’s time to look into the pot, and you will notice that there is not one rose in the pot, but four! The growers always put four cuttings in the pot when they begin to grow them. Now it’s time to divide your little roses and pot them up where they will have more room. You will want to go to your local garden center and pick up some sterilized potting mix. I like to use a soil-less mix (peat, vermiculite, and perlite) because it is light, well-drained, and the roots can move easily through it. You will want to perform surgery on your little roses when it’s time to transplant, so decide what kind of container you would like to use.
They are going to be pretty small when we divide them, so I wouldn’t use a pot larger that 4″ to begin with. Make sure there is a drainage hole in the bottom, and a saucer to catch the water that runs through. A 24″ windowbox is also a good choice. Once the warm weather arrives, your four little roses will fill that windowbox on a ledge or a porch and look just lovely! So, here goes. You’ve got your containers, saucers, and soil. Now, you will need to turn your pot over and spank the root ball out of the pot. Take a sharp knife and cut the root ball in quarters, so each stem has its own root ball. Then transplant each little rose into its new home, and firm the soil around the plant. Water with warm water, and place on a sunny windowsill.
Powdery Mildew
Sometimes, mini roses will get some powdery mildew while they are growing in the house. Our houses usually have dry heat, and this powdery mildew is not uncommon. If this happens, mix up some Murphy’s Oil Soap in hot water in a spray bottle. You won’t need a lot of the soap…just enough to make the water slippery. Then, spray down the whole plant (the hot water will be lukewarm when the mist hits the foliage): hit the tops and the bottoms of the leaves, and the stems and blooms, as well. Then, rinse the whole plant with warm water.
The spores will wash down the drain, and the soap leaves a protective coating on the leaves that helps to keep any stray spores from penetrating the leaf surfaces. As a note, though…this method does not work outside. The sun outdoors is much stronger, and the leaves can burn from the residual coating.
Anyway, now you see that you can have roses all winter! Please don’t throw them away…they will reward you with loveliness for many years to come!
Meet Marci Martin
Marci Martin has loved roses for as long as she can remember. From the time she was a little girl, she was fascinated with how…
Marci's Recent Posts
March: An Early Start in the Rose Garden This Year

Beautiful Floribunda Roses
Marci's Videos


Membership Has Its Perks

- Ask The Expert Questions
- Newsletter Archive
- PlantersPlace Magazine
- Members Photo Gallery
- Product Ratings & Reviews
- Garden Club Samples
More information about flower gardening that you’re going to want

Flower Gardening Videos

Got a Flower Gardening Question?

Learn About Osmocote Products