Growing Sprouts Indoors
Views: 3152
I’m a bit of a cook. I super enjoy my time in the kitchen. There’s something Zen about chopping vegetables and stirring a pot of soup. I feel a sense of pride even in chiffonading basil leaves and chopping sprouts. And I’m filled with even more pride when I have grown those veggies and herbs myself. It definitely impresses dinner guests.
Chopping your own homegrown fresh produce slacks off this time of year up here in the Northeast. I do have a few leeks and stalks of kale in the garden, even this late in the year. So that’s something. And in the last Just Veggies post I did talk about growing herbs indoors over the winter. I’m on that.
What you’ll need for growing sprouts
The experience of recreating a sandwich from a nearby café two weeks got me thinking of other indoor agricultural pursuits. The sweet potato sandwich had a big handful of sprouts on it, and when I tried to make my own version at home I thought, “Hmm. Sprouts should be easy enough to grow. I should do that.”
I haven’t done it yet, but I’m looking into it. Actually, I’m hoping Santa will bring me the equipment I need to become an active sprout sprouter. From poking around on the Web, this is what I will need:
• A wide-mouthed jar that you can slip your hand into
• A fine strainer or cheesecloth
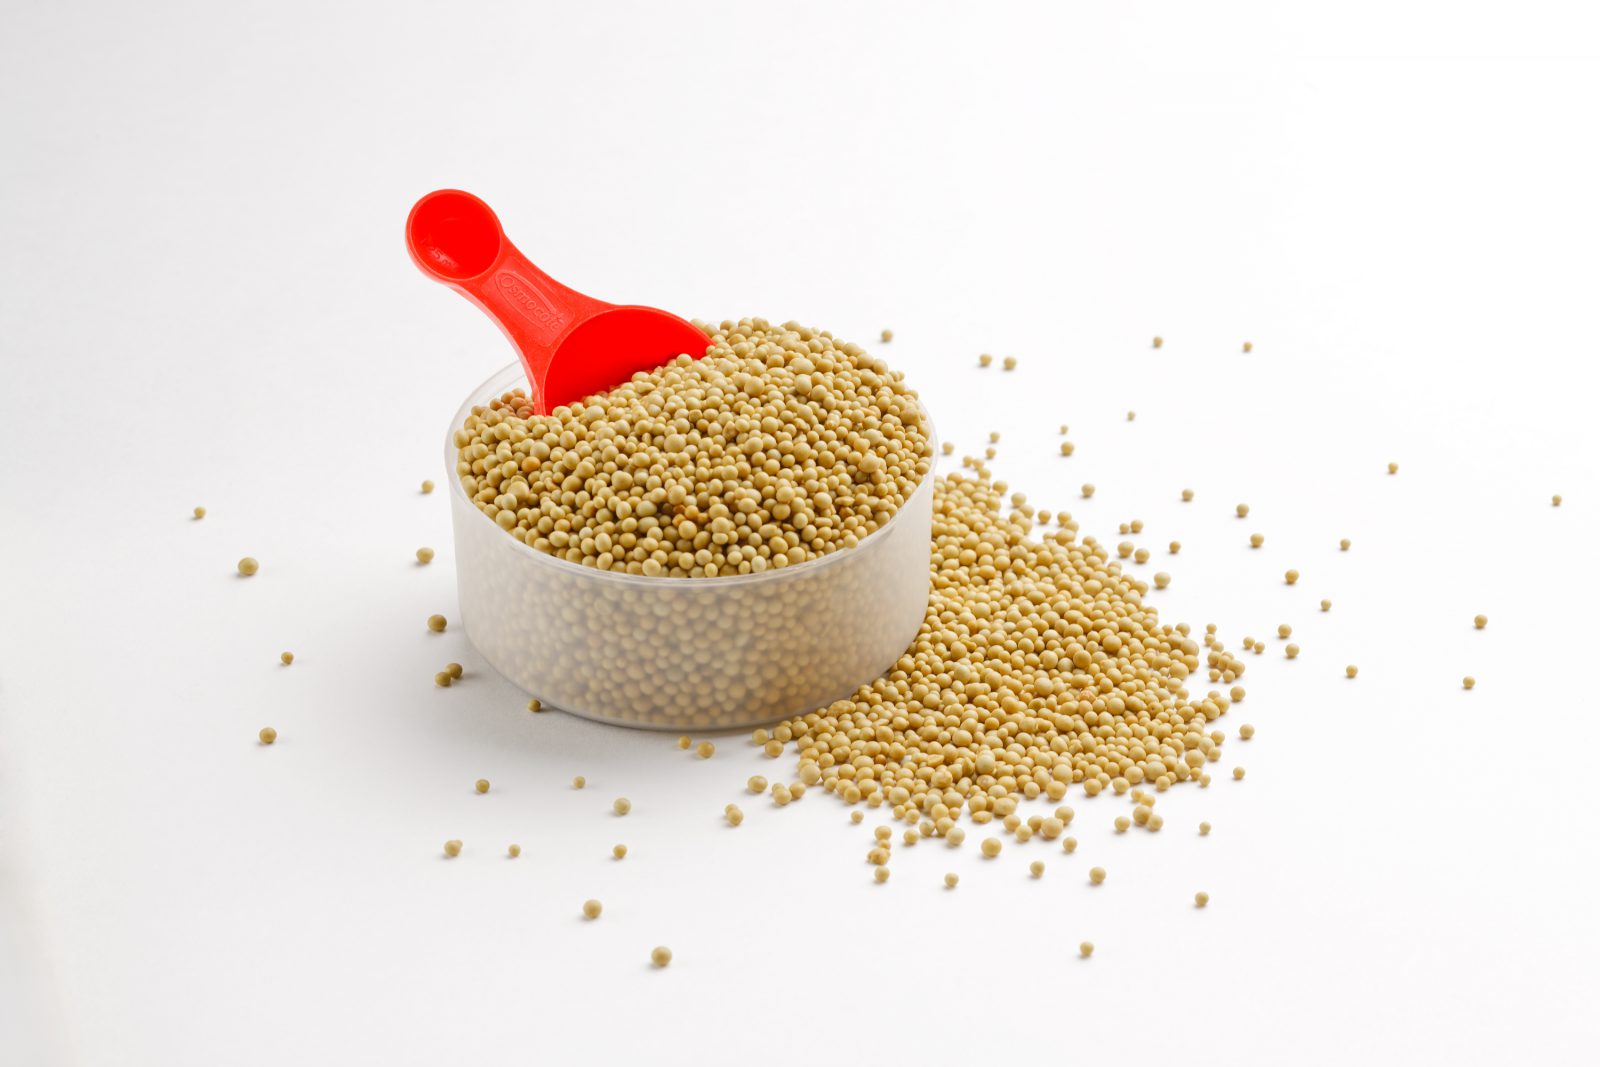
• Sprouting seeds
What are sprouting seeds?
Really, all I will need from Santa are some “sprouting seeds.” These are seeds that are sold and prepared specifically for using and eating as sprouts. Seeds for sowing and planting are prepared differently, even if they are organic. So, PLEASE stick with the “sprouting seeds” for your sprout needs.
What kind of veggie seeds are we talking about? Mung bean sprouts are common in Asian foods. Broccoli, pea, lentil, clover, radish, and alfalfa are common, too. It looks like Amazon has a wide range of sprouting mixes to try, also.
Basic steps for sprouting
Supplied with seeds and a wide-mouthed jar, sprouting seems pretty easy.
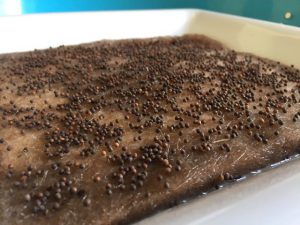
1. Add a couple tablespoons of sprout seeds to the jar and cover with water, letting it sit all day.
2. Using the sieve or cheesecloth, drain the water from the jar and rinse the seeds with water.
3. Return the seeds to the jar and cover with water again, letting it sit overnight.
4. Repeat this process of draining and rinsing the sprouts twice daily for several days—maybe up to a week—until the sprouts are the size you want them to be. When they reach that size, feel free to use them on salads, in dishes, or on your favorite sandwich.
You’re thinking you’ll need light for this. Nothing I’ve read on sprouting says you need lots of light. They are only sprouts, after all, and won’t be forming real leaves and such. No need for more than just ambient light that you might find on a countertop.
As with everything in life, you can keep this as simple as the above steps or make it more complicated with the use of gadgets and containers specifically for growing sprouts. This includes multi-tiered containers that’ll let you grow several different types of sprouts separately, gadgets that will automatically rinse the seeds for you, and so forth.
Baby steps first. You can eat only so many servings of Pad Thai and sweet potato sandwiches.
Meet Ellen Wells
When you’re raised on a farm, you can’t help but know a thing or two about gardening. Ellen Wells is our expert on edible gardening.…
Ellen's Recent Posts
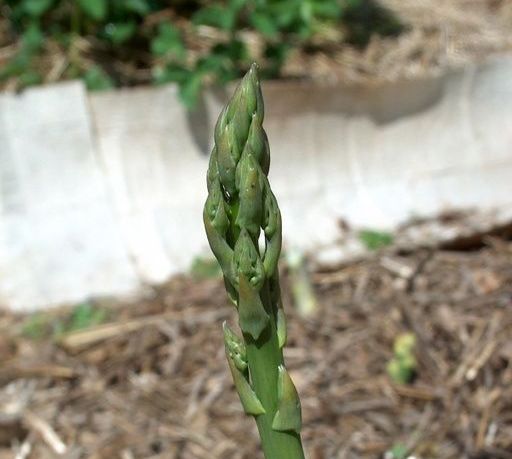
Asparagus
Climate Change, Warming Temperatures and Your Garden
Membership Has Its Perks

- Ask The Expert Questions
- Newsletter Archive
- PlantersPlace Magazine
- Members Photo Gallery
- Product Ratings & Reviews
- Garden Club Samples
More information about edible gardening that you’re going to want

Edible Gardening Videos

Edible Gardening Podcasts

Got a Edible Gardening Question?