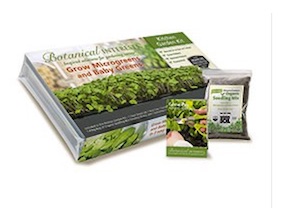
Kitchen Garden Kit from Botanical Interests
Views: 6021
Mid February is really the depth of winter. The growing amount of daily sunlight teases us into thinking spring will arrive any minute, but the still-chilly air in most of the country—if not downright frozen ground—prevents us from getting our hopes up too very much. Our green thumbs have gone pale like endive under a soil heap. Luckily there is a way to green up that thumb and get some fresh chlorophyll into our systems. We can grow microgreens and baby greens in our own homes with the Kitchen Garden Kit from Botanical Interests.
The Garden Kit
Winner of a Direct Gardening Association’s 2017 Green Thumb Award, the Kitchen Garden Kit includes the major items needed to grow small fresh greens in the midst of winter. The hardware includes a base tray, a growing tray with a perforated bottom and clear plastic dome. The kit comes with a bag of Botanical Interests’ special Wonder Soil Organic Seedling Mix (enough for two crops), which is a coconut fiber-based growing medium specially formulated for micro- and baby greens. The thing I like about this Wonder Soil is the coconut fiber. It’s a renewable alternative to peat, whose harvest is a one-shot deal.
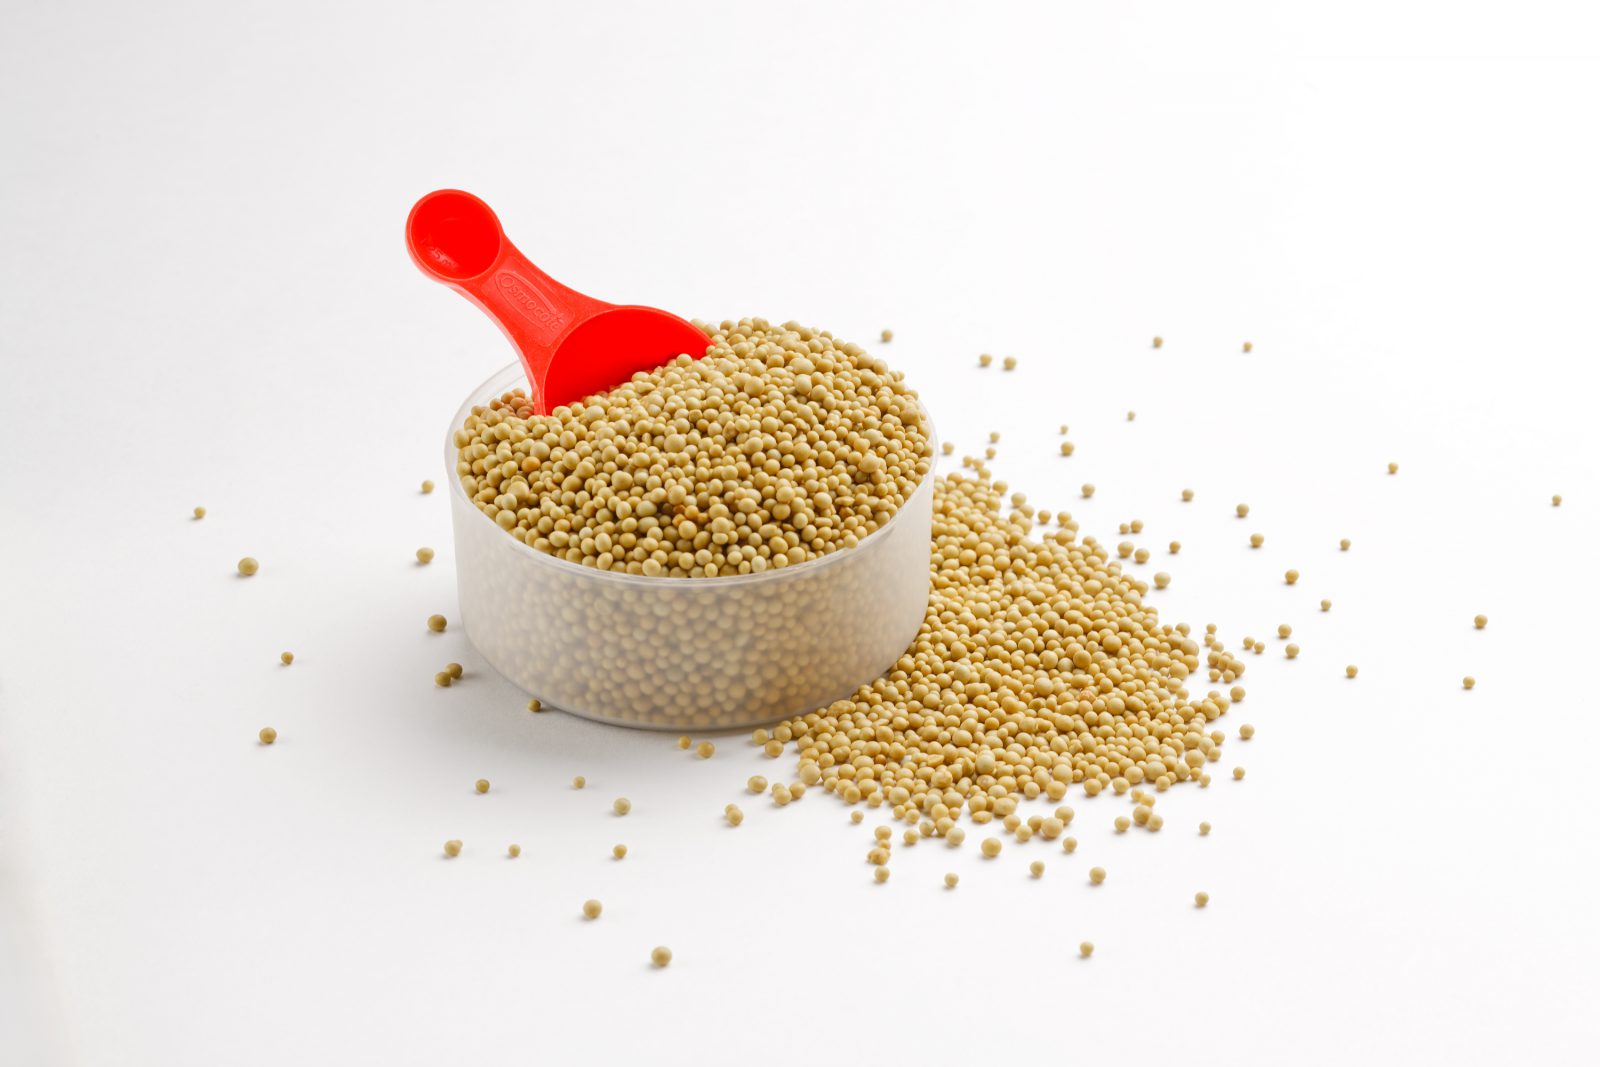
The use of the Kitchen Garden Kit is quite simple. Place the perforated tray within the base tray, sprinkle half of the bag of dehydrated Wonder Soil into the tray, and add 2-3 cups of water to puff up the medium. Once that water has been absorbed, plant your microgreens or baby greens according to the package directions. NOTE: The kit doesn’t come with a seed packet, but Botanical Interests has plenty of seed varieties to choose from. Once planted, top the tray with the plastic dome to help create a humid environment.
Active Use
The key to growth is placing the garden kit in a location with a nice amount of light. A southern-facing window is great, or—if you have room—place the kit somewhere that’ll allow you to have a light (maybe even a grow light!) above the tray. Once the seedlings emerge (note the number of days to germination on the seed packet), remove the dome. When the soil starts to feel a tad bit dry to the touch, there are two ways to keep the soil moist: Either add water to the base tray (a little at a time, please!) or mist the soil surface. Your choice. Feel free to fertilize.
When to harvest is also your choice. You usually harvest baby greens when the leaves are just 2-4 inches long. Microgreens, as you can guess, are smaller—just as the seedling emerges and the first set or two of leaves emerge.
Two other points to note: The assembled tray is 211/4 inches long by 11 inches wide by 4 3/4 inches tall. Also, the garden kit comes with an instruction and recipe book. All in all, the kit will go a long way to green up that anemic-looking thumb of yours until you get yourself into the garden.
Meet Ellen Wells
When you’re raised on a farm, you can’t help but know a thing or two about gardening. Ellen Wells is our expert on edible gardening.…
Ellen's Recent Posts
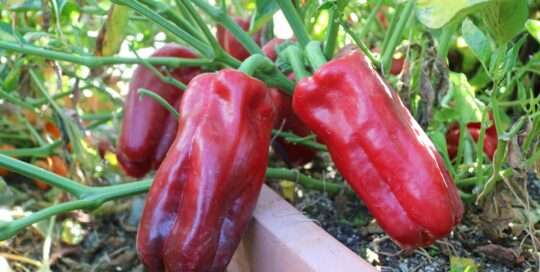
Pepper Red Impact an All-America Selections Winner
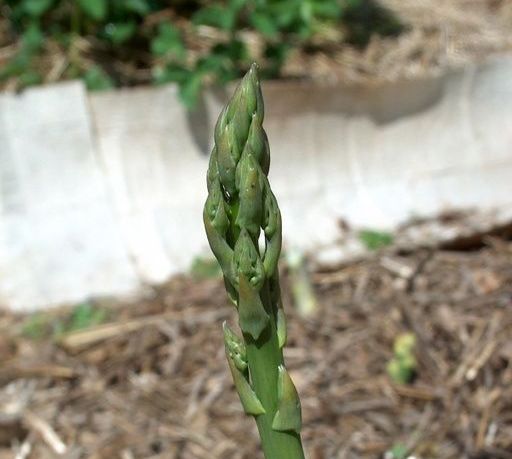
Asparagus
Membership Has Its Perks

- Ask The Expert Questions
- Newsletter Archive
- PlantersPlace Magazine
- Members Photo Gallery
- Product Ratings & Reviews
- Garden Club Samples
More information about edible gardening that you’re going to want

Edible Gardening Videos

Edible Gardening Podcasts

Got a Edible Gardening Question?