Growing Greens Indoors
Views: 1032
Back in December I missed the near-daily supply of fresh kale and chard from my garden, so I decided to try my hand at growing greens indoors. I cleared out some junk on shelves in my laundry closet, set up some lights and got planting.
While my recent Planter’s Place article on Growing Vegetables Indoors listed lots of possible vegetable crops to grow, I chose quick-growing greens, beets and radishes as my indoor crops, as well as a mushroom kit. I’m nearly two months (and several helpings of salad) into this growing experiment and I have some dos and don’ts, successes and failures to share.
What Worked
Warmth. Being in a small, enclosed space that already contained the laundry machines and a small chest freezer, the growing room has been consistently warm, hovering around 80F.
Growing Trays and Pots. I purchased the standard growing tray—20 inches by 10 inches—one version with holes in the bottom and one version with a solid bottom. Also, I purchased some 3.5 x 3.5 x 3 inch growing pots. I filled the holey tray and the growing pots with an all-purpose, pre-fertilized growing media and put the tray and pots inside the solid-bottom growing tray. I can fit 24 growing pots in that tray. When watering I simply fill the bottom tray with water and the water is wicked up through the soil. I planted greens in the tray and the beets and radishes in the deeper growing pots.
Light Timer. While I had some issues with lighting (I’ll get to that below) I did appreciate having a timer that would automatically turn the lights off and on.
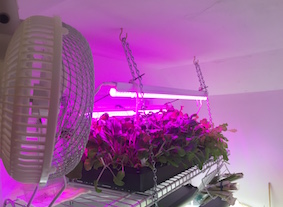
Fan. The air gets pretty stale in an enclosed room, and still air can promote disease growth. I set up a desk fan to blow at an angle, helping the air to circulate within the room.
Pest free. Because it is winter, there aren’t any flying pests finding their way into my home and onto my crops. I have my first flea beetle- and leafminer-free crop of kale and beets ever!
Adjustments Made
Lights. Finding the right light situation is complicated. I started off with 3 ft. long shop lights, one over each tray, and found the seedlings were stretching toward the light sideways too much, even though the lights were placed close to the trays. I eventually bought two 2 ft. long red and blue LED strip lights and placed them over the tray of greens, while the two shop lights were placed over the beets and radishes. This seems to be working to keep the stretching at a minimum.
Results
Salad greens. I’m using the “cut-and-come-again” method, meaning, I let the plants grow to about 3-4 inches tall and trim them to just above any growth coming from the center. These greens can start growing again from that point, and I can trim them again … and so on. I’m currently on my third complete harvest and will keep it going for as long as I can.
Beets and radishes. My first planting of beets and radishes never did “recover” from the stretching that happened due to the lights, and they didn’t produce any sort of bulbous roots in the slightest. I harvested all of them to use as salad greens and planted the growing pots again. I’m almost 3 weeks into the next crop of beets with the new lighting set-up and so far no stretching. While I realize getting a nice-sized beet root is out of the question I would at least like to get a small little nub of some sort. We will see!
Meet Ellen Wells
When you’re raised on a farm, you can’t help but know a thing or two about gardening. Ellen Wells is our expert on edible gardening.…
Ellen's Recent Posts
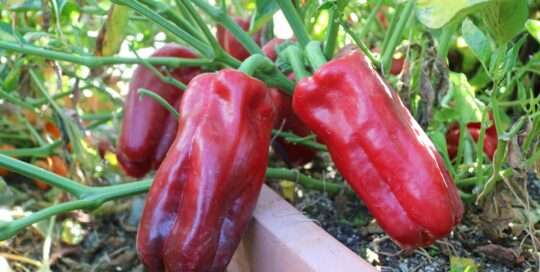
Pepper Red Impact an All-America Selections Winner
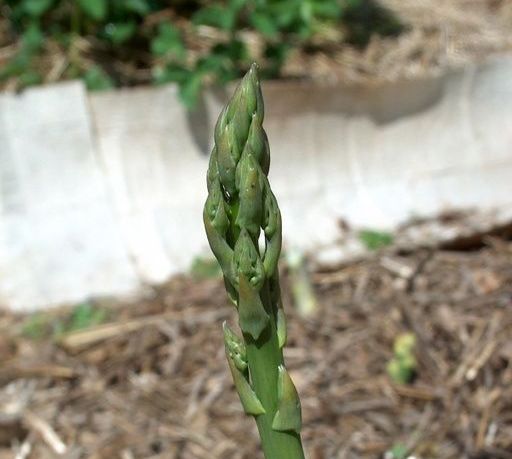
Asparagus
Membership Has Its Perks

- Ask The Expert Questions
- Newsletter Archive
- PlantersPlace Magazine
- Members Photo Gallery
- Product Ratings & Reviews
- Garden Club Samples
More information about edible gardening that you’re going to want

Edible Gardening Videos

Edible Gardening Podcasts

Got a Edible Gardening Question?